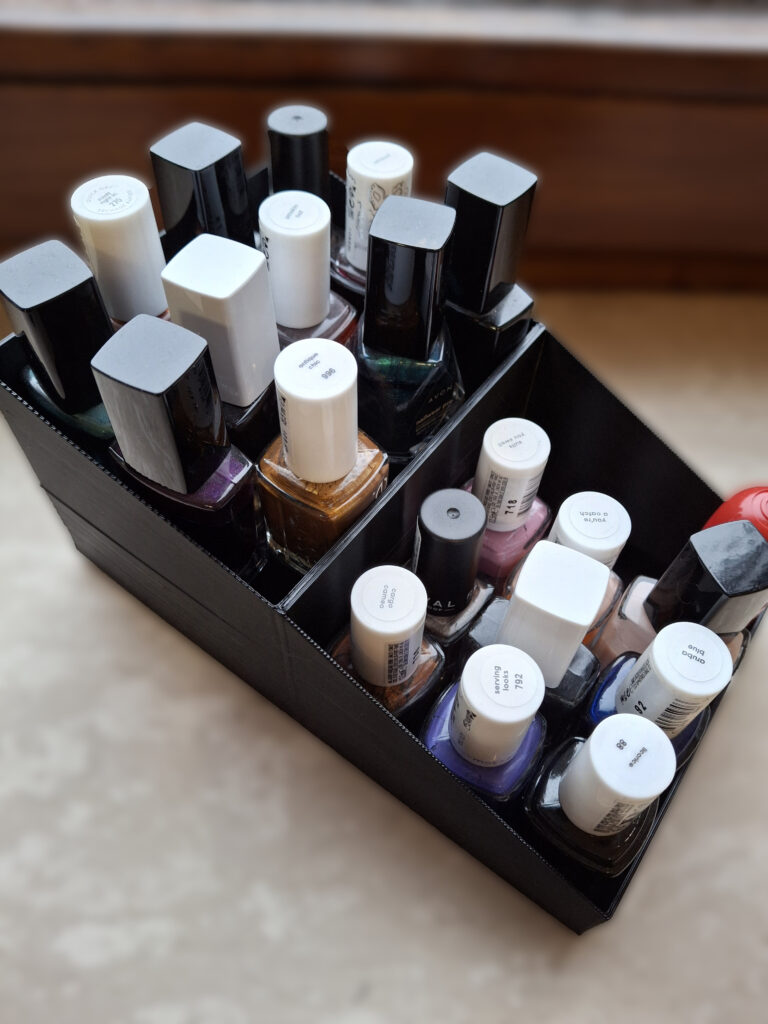
The first project with the 3D printer was to solve an everyday problem. An organisation system for the bathroom cabinet. Of course, you can buy small boxes in many sizes, but only 3D printing makes it possible to create a storage system that fits with millimetre precision.
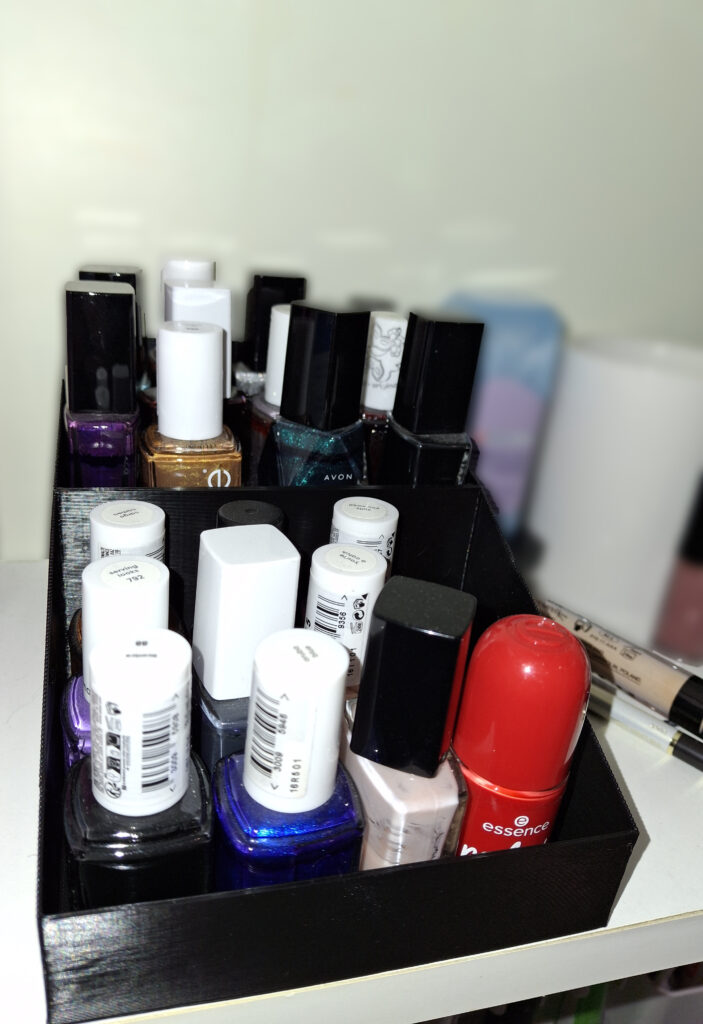
My first work was to be a lipstick box.
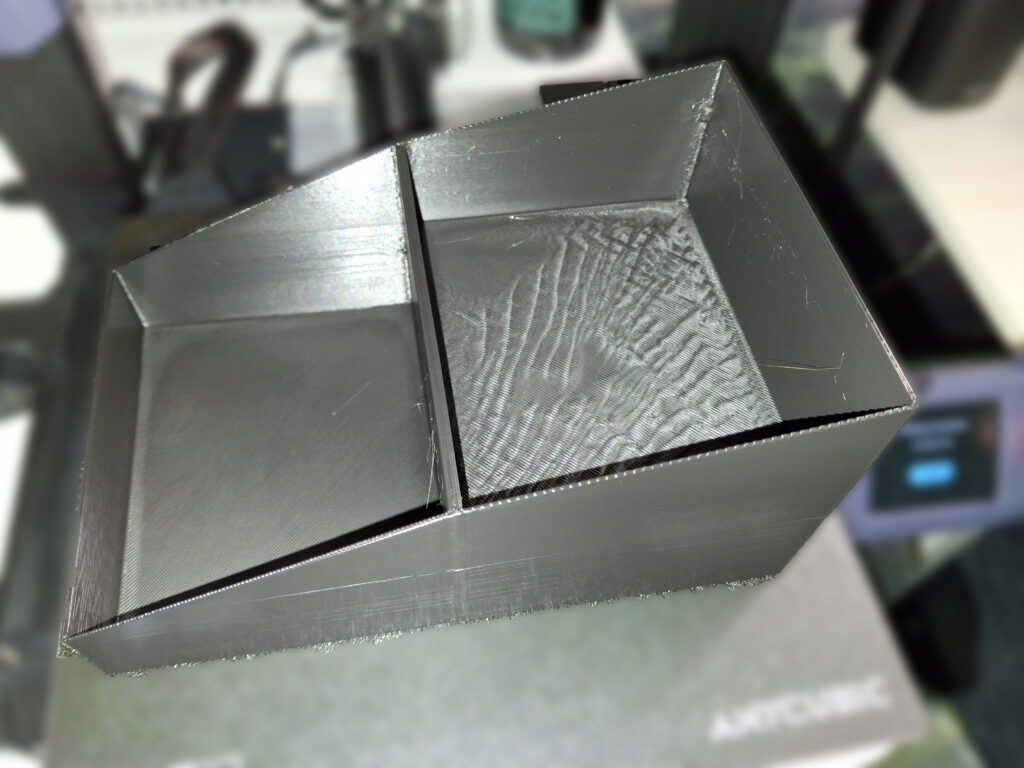
To do this, I first created a cube in Blender with the exact dimensions that I had previously measured. Then I inserted a loop cut to create two compartments. I then applied inset face and then extrude region to each top face to create an empty area to store things. I then dragged the edges downwards to create a sloping side surface. And finally, I used the modifier add bevel (under generate) to create rounded edges.

I used a coarse setting for the slicing (0.4mm) to speed up the printing. For the infill, 10% is sufficient without any problems. The temperature and the build plate temperature were adjusted to the filament, in my case black PLA+.

I was very positively surprised by my first 3D print result. It is already fulfilling its purpose. More boxes will be printed in the future as well…
Schreibe einen Kommentar